What to buy
- An LED backlight board. The frame was designed on the FAZ007 USB-C board: 120 x 156 mm, about 5 W at 5 V. Another flat board works too: enter its size and the frame gets an adapter ring.
- A clear front panel (optional): 1 mm acrylic cut to the image size.
- A USB-C cable and a phone charger to power the board.
- Filament: white PLA for the lithophane and diffuser; black or another dark color for the housing, lid and rings, so no light leaks through the walls.
Put it together
- Print every part. The 3MF project has them placed on plates; check the filament for each part before you print.
- Working from the back of the housing, put in the clear front panel (optional), then the lithophane with its image side toward the front.
- Add the 10 mm spacer ring, then the diffuser with its thin center toward the LEDs.
- Add the 3 mm spacer ring, notches toward the LED board.
- Put in the LED board, LEDs facing the diffuser, its USB-C socket at the bottom center in the housing's notch. An adapter ring, when your kit has one, goes around the front panel or the board.
- Press the lid on until it clicks, port notch at the bottom.
- Stand the frame in the plinth and plug in the USB-C cable.
Frequently asked
- What is a lithophane frame?
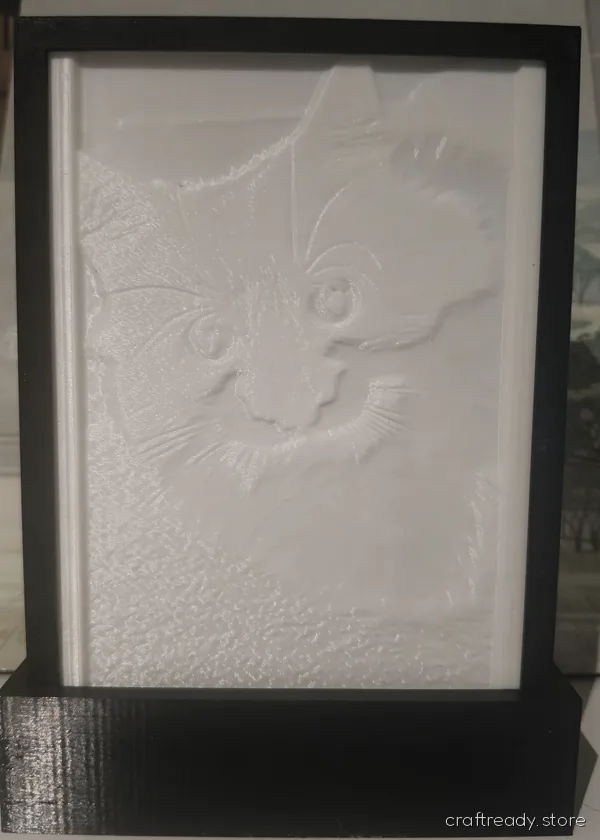
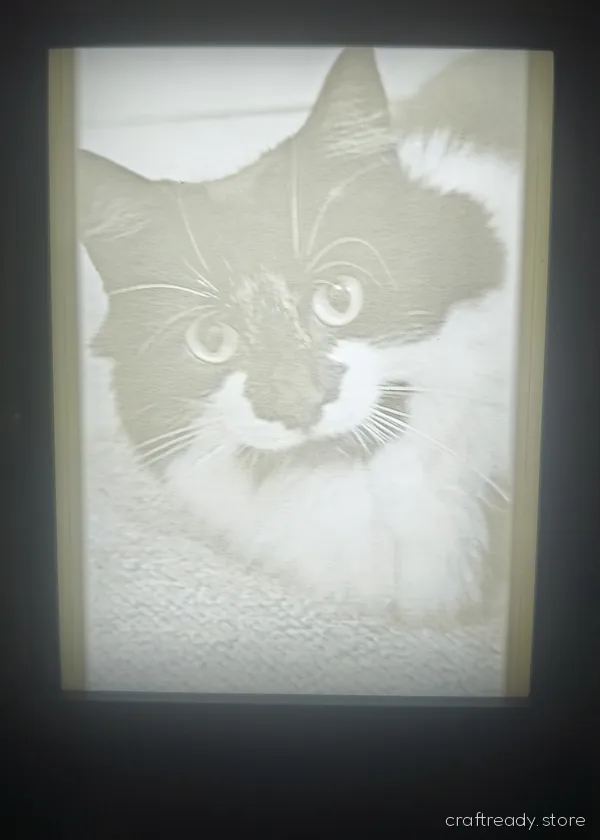
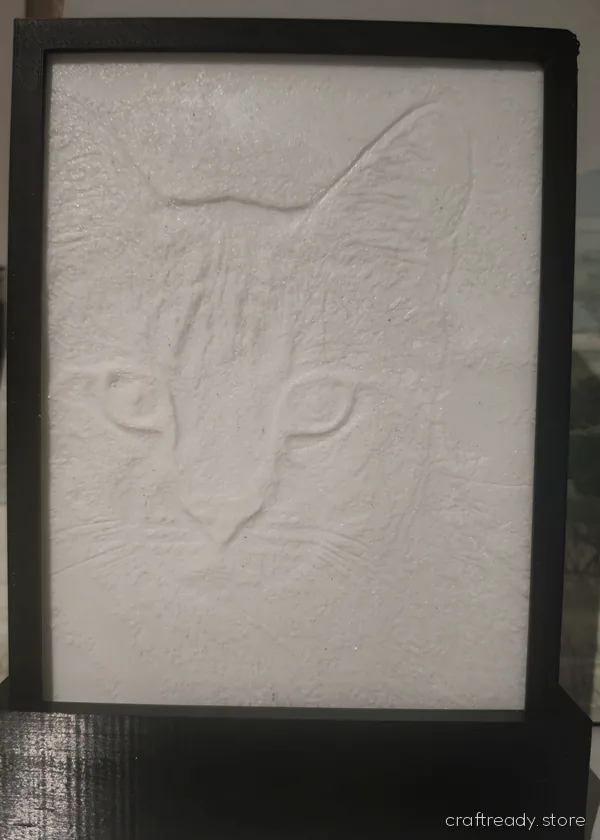
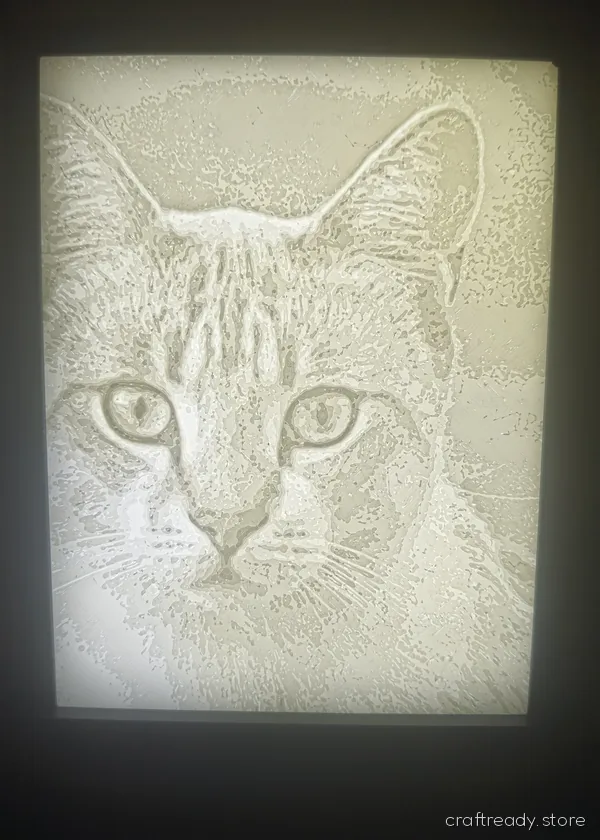
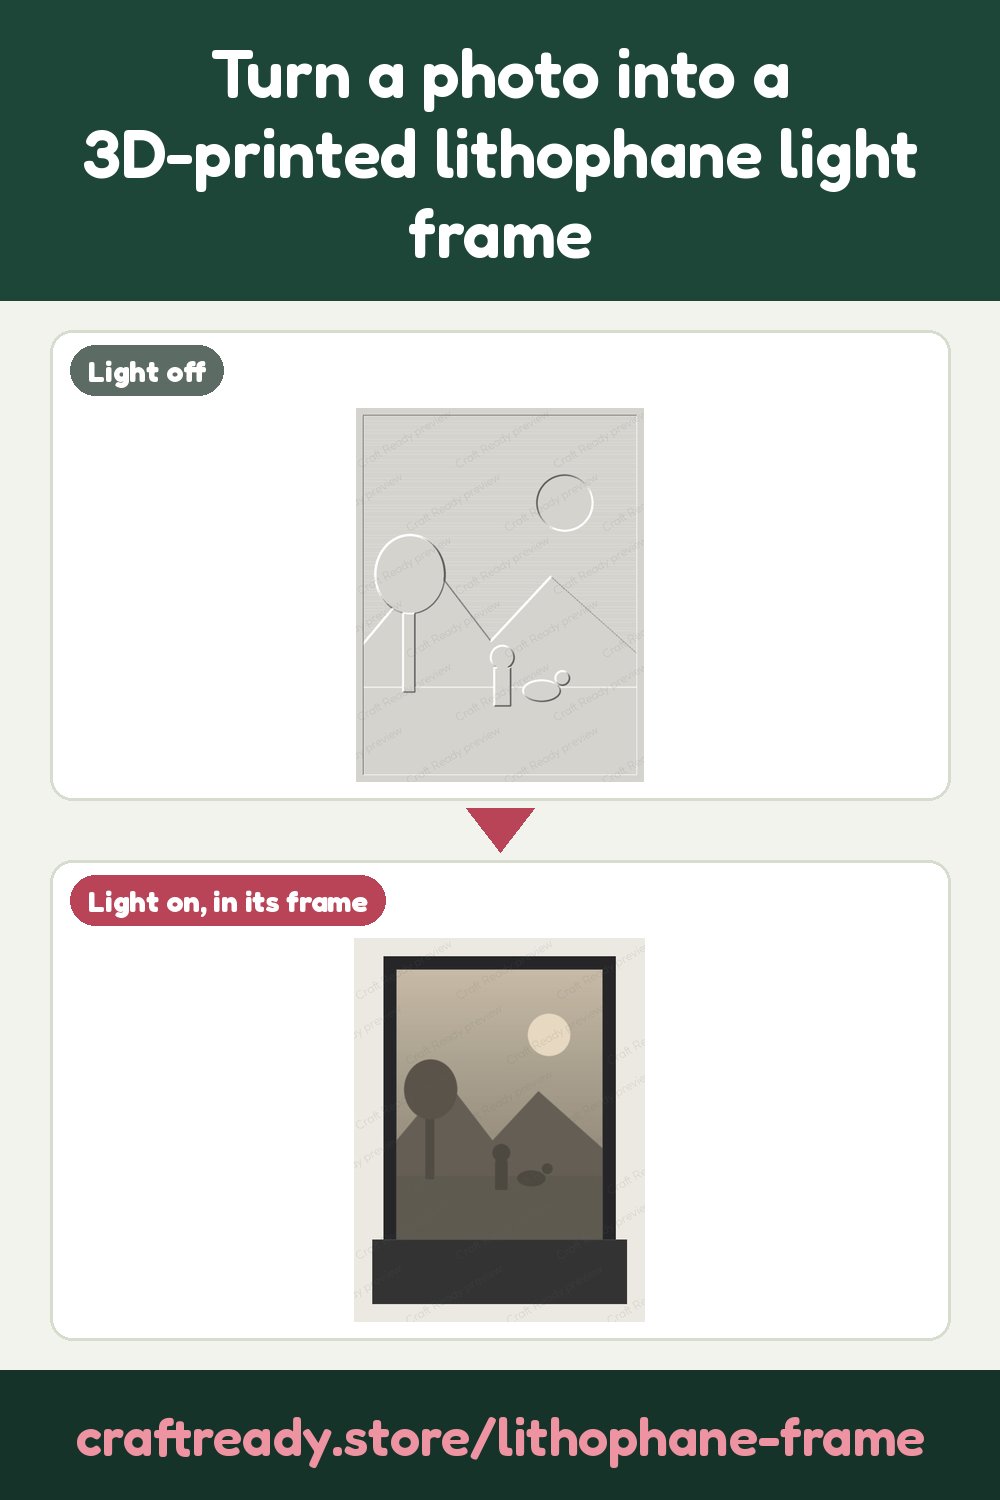
- A lithophane is a thin 3D print of a photo: thicker where the photo is dark, thinner where it is light. With the light off it looks like a white relief; lit from behind, the photo appears. The frame holds it in front of a flat LED board, with a spacer, a diffuser and a lid, and stands in a plinth.
- What photos work best?
- Clear photos with good contrast: faces, pets, landscapes. A bigger photo prints sharper; the page warns you when yours is small for the size you choose. Choose Crop to fill the frame, or Fit to keep the whole photo with a white border.
- What is in the download?
- One zip: the lithophane STL, the STL of every frame part (housing, lid, spacer rings, diffuser and plinth, plus an adapter ring when the LED board is not the image size), a 3MF project with every part placed on plates for a 256 mm print bed (Bambu Lab P1S settings), and a README with the assembly order. Check the filament for each part before you print.
- What do I need to buy?
- A flat LED backlight board: the frame was designed on the FAZ007 USB-C board, 120 x 156 mm, about 5 W at 5 V. If yours is another size, enter it and the frame adds an adapter ring. Optionally a clear 1 mm acrylic front panel cut to the image size, and a USB-C cable. The page lists every size once you choose one.
- How big can the frame be?
- Each side of the image and the LED board must be at least 50 mm. On a 256 mm print bed they can be at most 229.4 mm wide and 217.4 mm tall.
- Can you print one and post it to me?
- Yes, in one size: we print and post a 120 x 156 mm lithophane frame for $199 AUD (Australia only). The kit comes with every printed part, the FAZ007 LED board and a USB-C cable; postage and GST are included. You pay on this page once you have chosen your photo.
- Is the AI photo needed?
- No. The light-off, light-on and framed previews are drawn here without AI. The AI photo is optional: it sends the preview of your photo to Google to draw a picture of the finished frame. It is free, and a few can be made each day.
- How much does it cost?
- Uploading and the previews are free. Downloading the kit costs 5 credits per photo, taken from your free monthly credits first (a free account gets 25 credits every month). After that, every size and option of the same photo is free.
- Can I use any photo I find online?
- No. Only upload photos you own or have permission to use: your own photos, or pictures whose licence lets you print them. Craft Ready is a tool for making your own projects, not for copying someone else's work.